Old wooden trunks have a kind of romance to them. They have seen a lot during their time. Instead of throwing them away or letting them rot, converting them to something interesting and useful is always better. We took an old (probably about 20 years old) wooden trunk which has seen very rough usage (it belonged to an army man) and converted it into a bookshelf.
The whole project including the box and paints cost about Rs 1500.
You can also check out our DIY projects over at Instructables.
Step 1: Find an old army trunk
We did not set out to build this. We were checking a classified website for something else and found a retired army colonel selling his trunks. The idea immediately started forming. We bought two of them for Rs 1200 ($20) – the small one we are going to use in this instructable was Rs 400 ($7).
The boxes were fairly big and we did not take the jeep that day. The whole thing barely fit inside the trunk of the friend’s hatchback we had borrowed for the day.
Step 2: Clean it up
The most difficult part of the project was getting the old nails out. They were rusted. Very often crooked – sometimes by use, sometimes by design. The wood in which they were places was alternating between hard and soft. It took a patient couple of hours to get all the nails out without damaging the wood underneath. A hammer and nail pliers along with some wooden blocks (for support) did the job.
The next part was separating the lid. I wanted to build an open face bookshelf so the lip could find itself another job to do. I left the hinges on the trunk and glued them in single position so they don’t disturb anything else.
Then I sanded the whole thing to make sure no rough edges were left. I do not have a power sander and hand sanding is incredibly painful. Hence I did not sand enough to get the old paint off. Way too much work! If you have a power sander (or more patience than me), go through the paint to get an even wooden finish out.
Step 3: Create the middle shelf
While dismantling the trunk, I had completely remove the top. I took the top apart and took one of the panels to create the middle shelf. It needed a bit of work with the jigsaw but in the end, it come out to be perfectly sized.
To support the shelf, I decided to go with screws. All around the sides and back, I put in a few screws which would hold the whole thing together. I needed this to be strong enough to hold the weight of books. Also, other approaches work best when the wood is available in pieces. Since the box is already made, it was made reaching through and cutting more difficult.
Step 4: Paint it!
We decided to go in for a 2 tone treatment. The outside of the box will get a teal colour. The inside including the shelf will be white. The handles and legs (neither of them were ready till now) will also be white.
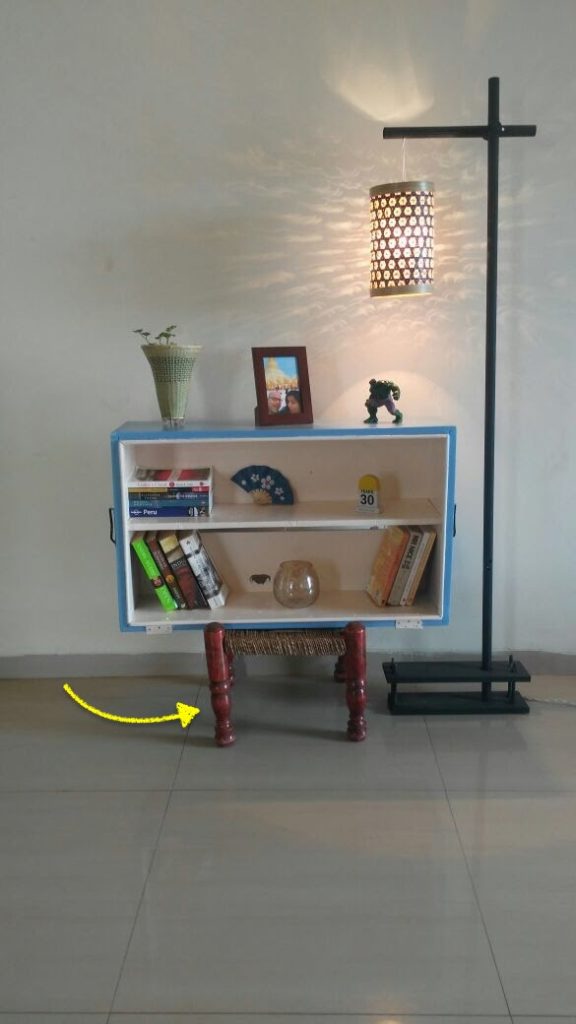
Once the painting was over, we set it up on a cane stool to see how it looks. Not too bad!
But we did not have legs. We then realised one of the cane stools was about to be thrown away (termites!). We could use the legs.

Step 5: Preparing legs
If you have access to legs, this step should be done before painting. We weren’t that smart.
We got the legs of the cane stool and cut the top off to create the ideal height. I do not have a planer or a circular saw. The jigsaw does not give perfect cuts so the ‘ideal’ required a lot of improvisation. We then sanded them to get ready for paint and drilled a hole on top of them to affix them to the bottom of the bookshelf.
The legs and handles got white paint as planned.
Step 6: Final assembly
The screws went in easily to secure the legs to the bookshelf. I added some strong industrial strength glue to the screws, hols and the top of the legs to add strength.
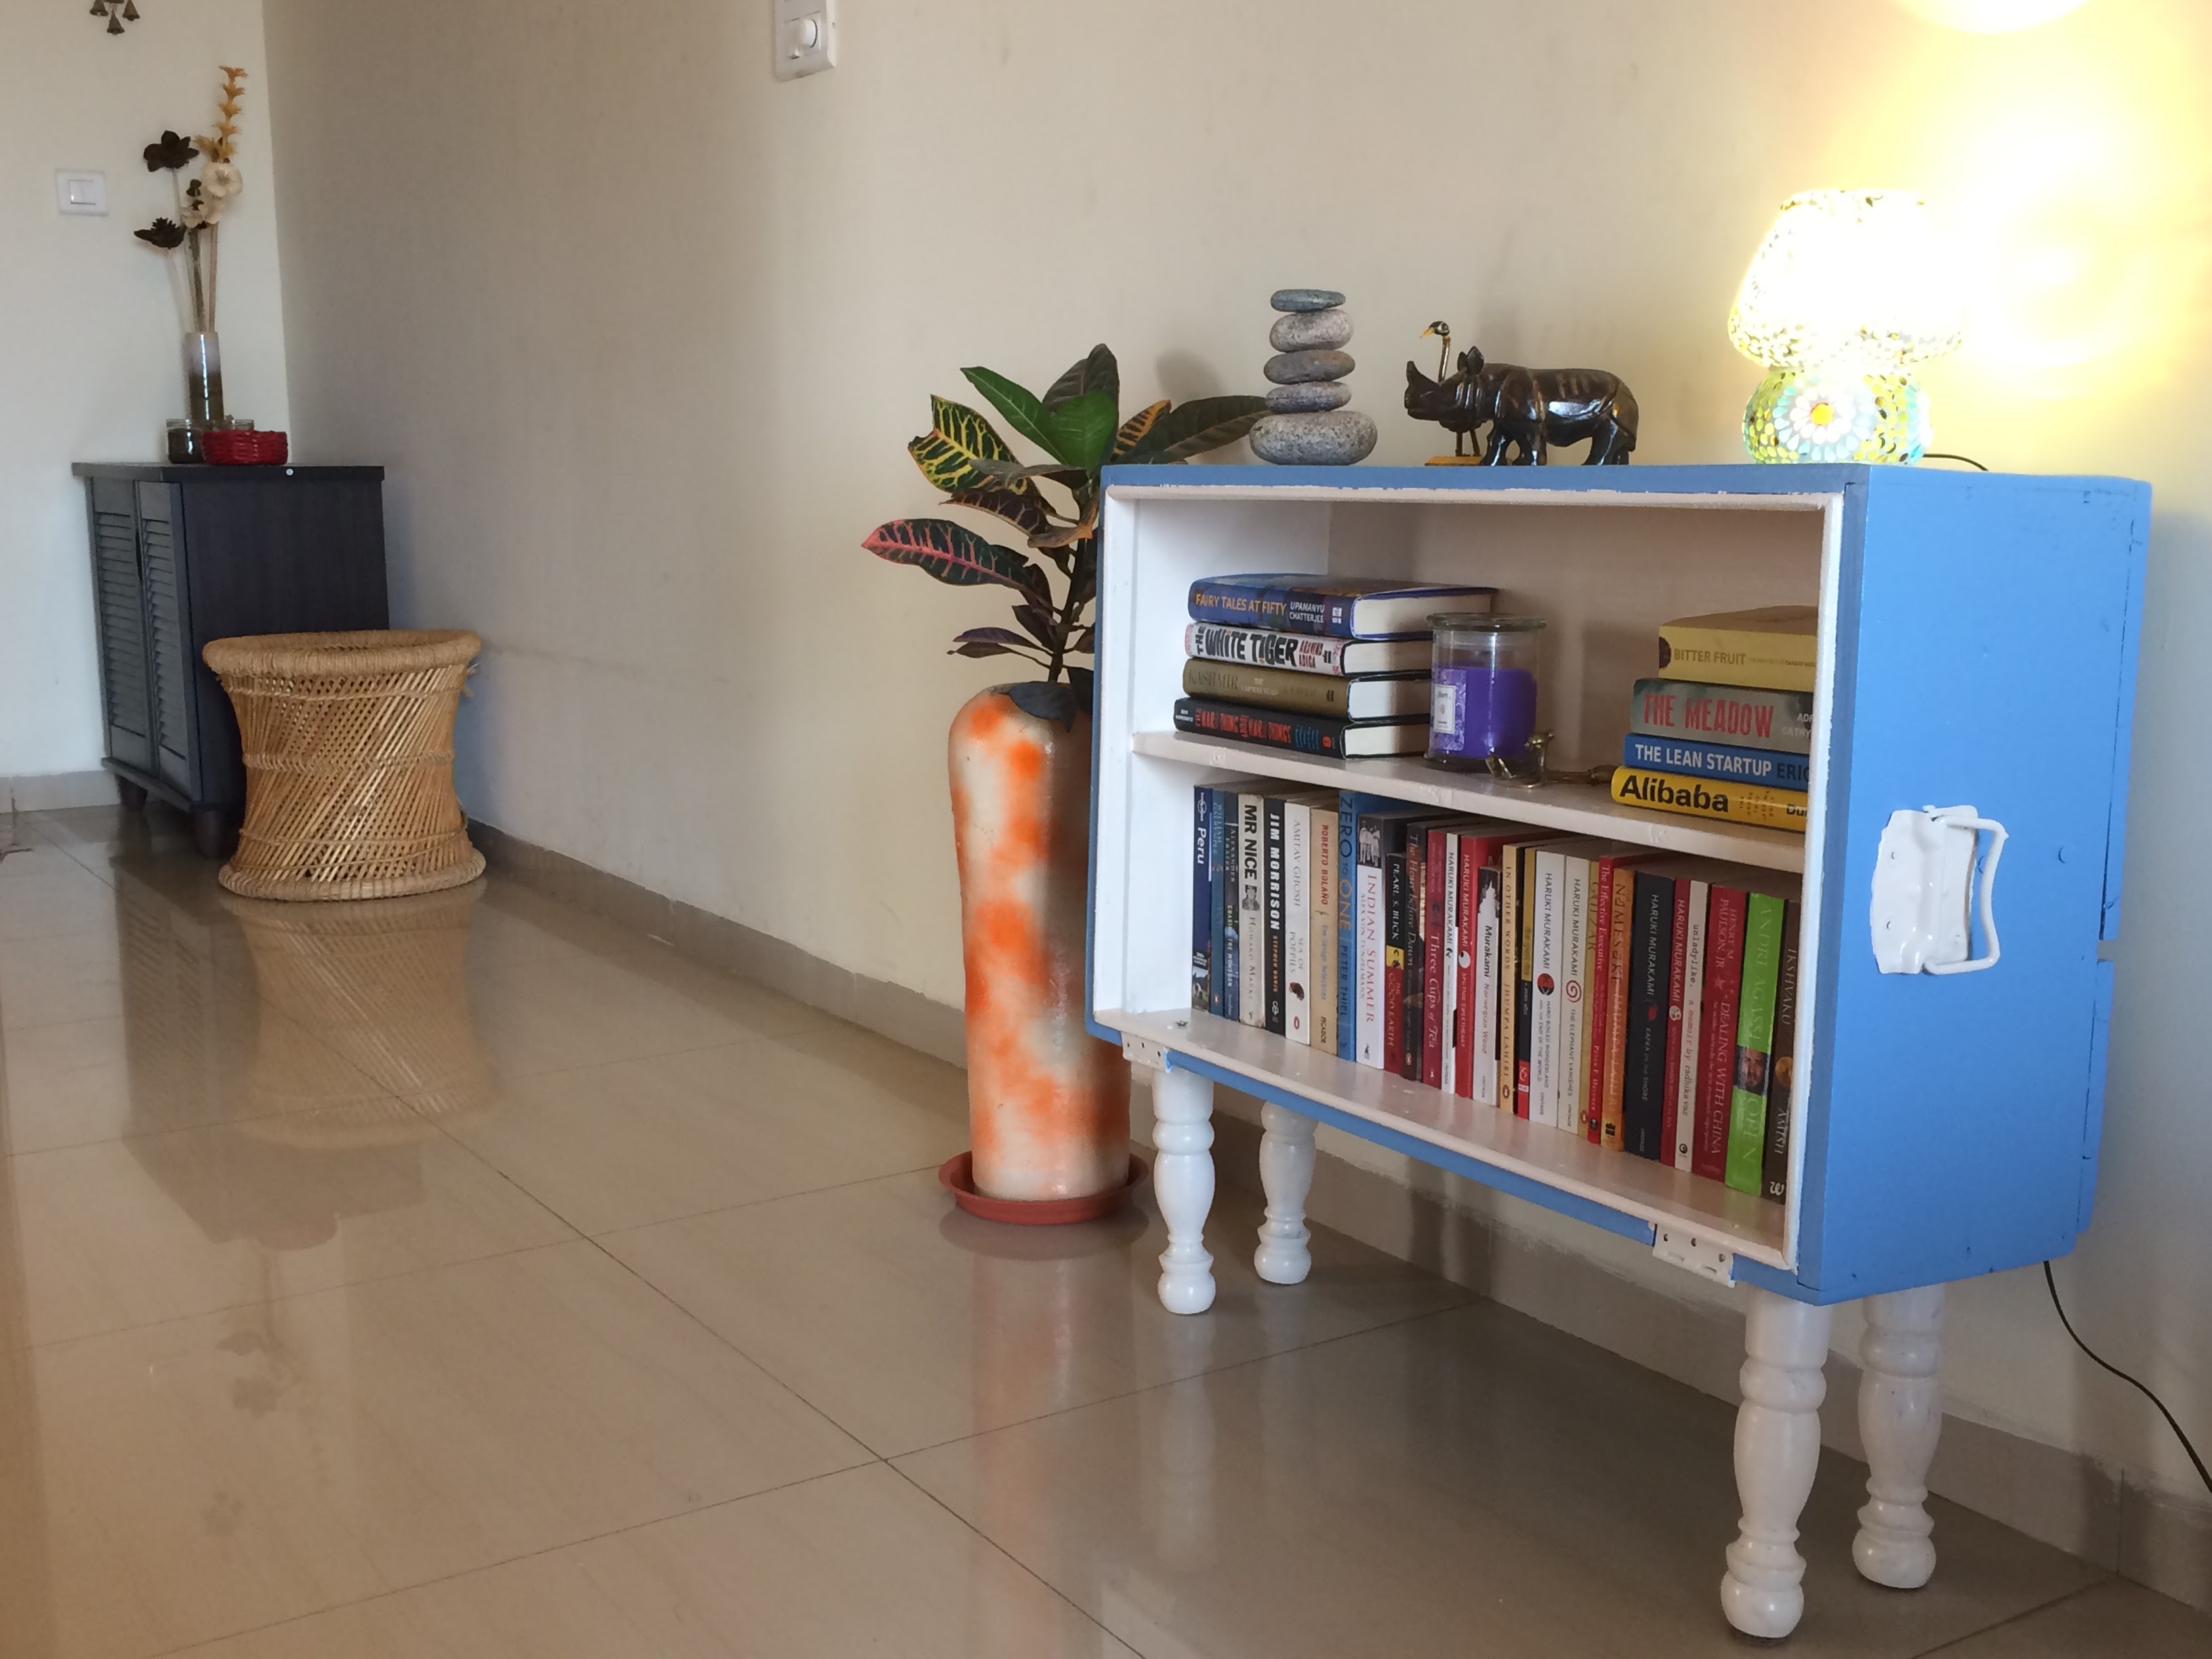
Overall it came out quite well. We put a tall plant next to it for some company and creating a bit of contrast with the teal+white of the bookshelf.

Comments